Setting up a development version of Rancher

After encountering a minor issue with Rancher's latest version, I decided to check if I could find more information about this problem by digging in the source code, adding some logging to the areas around the relevant parts. To start investigating this issue, I needed a testing environment that hopefully also shows this issue.
First, we need a machine to build and run Rancher. You can use a VirtualBox VM or some VPS online installed with Ubuntu 20.04.
There are a few prerequisites before you're able to build Rancher. For one, we need to install Docker, and we can do so by using Rancher's docker install script or any other way you'd prefer.
curl https://releases.rancher.com/install-docker/20.10.sh | shOnce that's installed, we'll need to set up a Kubernetes cluster. To make it easy, we'll use Rancher's lightweight Kubernetes distribution called K3s. We're using the docker engine to enable the use of docker images. K3s uses CRI-O by default, which doesn't use the images loaded into Docker by the build process later on.
curl -sfL https://get.k3s.io | sudo sh -s - --docker
sudo systemctl start k3s
sudo k3s kubectl get nodeOnce it's up and running showing a "Ready" node, we should install Kubectl for convenience.
# Note that this command downloads the matching client version
curl -LO "https://dl.k8s.io/release/$(k3s kubectl version --short=true | awk -F'[ +]' '{print $(NF-1); exit}')/bin/linux/amd64/kubectl"
sudo install -o root -g root -m 0755 kubectl /usr/local/bin/kubectl
rm -f kubectl
mkdir ~/.kube
sudo cat /etc/rancher/k3s/k3s.yaml > ~/.kube/config
chmod -R 600 ~/.kube/config
kubectl version
# Following lines are to enable bash completion
source <(kubectl completion bash) # setup autocomplete in bash into the current shell, bash-completion package should be installed first.
echo "source <(kubectl completion bash)" >> ~/.bashrc # add autocomplete permanently to your bash shell.
kubectl get nodesOnce that's up and running, let's install HELM to deploy the Rancher generated HELM package once we've created our develop build. We're living on the edge, so this will be easy.
curl https://raw.githubusercontent.com/helm/helm/main/scripts/get-helm-3 | bashWe'll also need to use Docker directly. If you are using a regular user, you'll have to allow access to Docker by adding the user to the "docker" group.
sudo usermod -aG docker marco
# Restart session to reload privilegesNow we've set that up, we need to grab the source code and build it. We start by cloning the Rancher source code from their GitHub.
sudo apt install git make
# Make sure you are using the version tag you want
git clone https://github.com/rancher/rancher.git -b v2.6.3After we've cloned the source code, we can jump into building it. First, we'll remove the test step from the ci scripts; making Rancher build a lot quicker. You can also temporarily remove the validate step if you want it to be even quicker.
cd rancher
nano scripts/ci
The new ci script looks like this for me.
#!/bin/bash
set -e

cd $(dirname $0)

./validate
./build
#./test
./package
./chart/ciWe need to commit the change to the ci script and run "make". If you do not commit the change to git, the build process will tell you the repository is dirty.
git config --global user.email "[email protected]"
git config --global user.name "Marco Stuurman"
git commit -am "Disable tests for development"
make
# If it fails because of a timeout, try once moreRunning the make command may take a long time, depending on the system resources you've given the VM. The first build took me about 30 minutes. Once the building process finishes, you'll see docker images with the same tag as "VERSION" in the local registry.
marco@rdev:~/rancher$ docker images
REPOSITORY                     TAG              IMAGE ID       CREATED          SIZE
rancher/rancher-runtime        b209dbd85        8c3c1beccbe7   25 minutes ago   269MB
rancher/rancher-agent          b209dbd85        bd7908b20a0f   25 minutes ago   533MB
rancher/rancher                b209dbd85        3c4a1c6ce2d1   26 minutes ago   1.17GB
The build process will automatically generate a HELM chart to deploy your development build version of Rancher. Let's deploy Rancher!
First, we need to install a cert-manager to let Rancher deal with the certificates.
kubectl apply -f https://github.com/jetstack/cert-manager/releases/download/v1.5.1/cert-manager.crds.yaml
helm repo add jetstack https://charts.jetstack.io
helm repo update
helm install cert-manager jetstack/cert-manager \
  --namespace cert-manager \
  --create-namespace \
--version v1.5.1Once that is installed, let's install Rancher itself.
kubectl create namespace cattle-system
helm install rancher \
  bin/chart/dev/rancher-0.0.0-1642269672.commit-b209dbd85.HEAD.tgz \
  --namespace cattle-system \
  --set hostname=rancher.your.domain \
  --set replicas=1 \
  --set bootstrapPassword=SomeGeneratedP4ssw0rd
Let's check if Rancher can start.
marco@rdev:~/rancher$ kubectl get pods -n cattle-system
NAME                       READY   STATUS    RESTARTS      AGE
rancher-68b5949696-nqts9   0/1     Running   0             16s
rancher-68b5949696-qk9ng   0/1     Running   0             16s
rancher-68b5949696-h5k9z 0/1 Running 1 (13s ago) 16smarco@rdev:~/rancher$ kubectl get pods -n cattle-system
NAME READY STATUS RESTARTS AGE
rancher-68b5949696-h5k9z 1/1 Running 1 (3m27s ago) 3m30s
rancher-68b5949696-nqts9 1/1 Running 0 3m30s
rancher-68b5949696-qk9ng 1/1 Running 0 3m30s
helm-operation-s768m 0/2 Completed 0 2m53s
helm-operation-tvx2n 0/2 Completed 0 2m21s
rancher-webhook-5d4f5b7f6d-7mfhc 1/1 Running 0 2m9s
helm-operation-fm9z4 0/2 Completed 0 2m13sLet's open up the domain given to HELM in a browser.
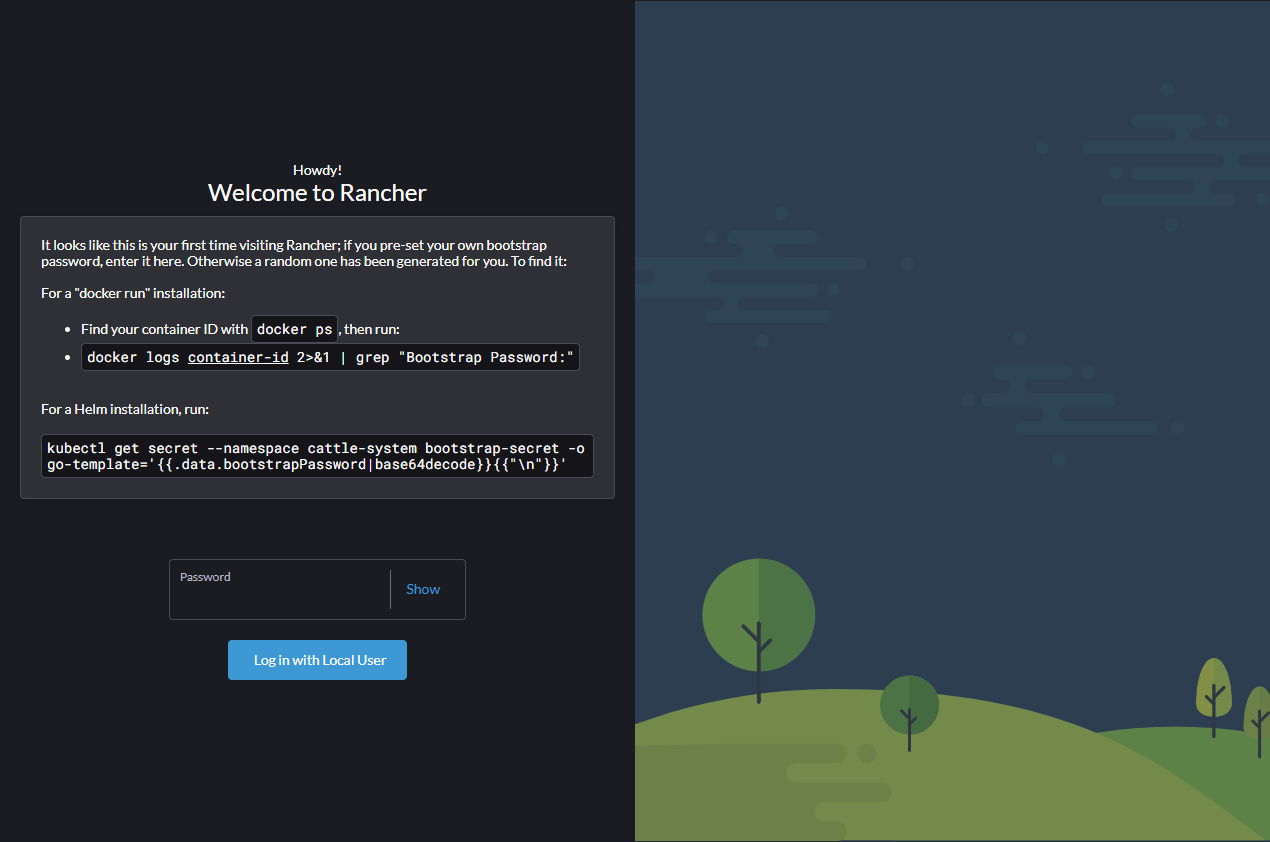
That worked! Now we can log in using the password given to HELM.
Once logged in, we can see our development version of Rancher running by checking the hamburger menu on the left top side.

Lets's set up Virtual Studio Code (vscode for short).
First, we need to install vscode. Which should be pretty straightforward.
Next, we should install some extensions. The following will be needed:
Next we'
From now on, you can change whatever you need to the code, commit, build, helm upgrade and test.
I hope I find this blog post very interesting when I refresh my memory. To everyone else who reads this, thank you!
Additional information:
Don't forget to up the log level
kubectl -n cattle-system get pods -l app=rancher --no-headers -o custom-columns=name:.metadata.name | while read rancherpod; do kubectl -n cattle-system exec $rancherpod -c rancher -- loglevel --set debug; done